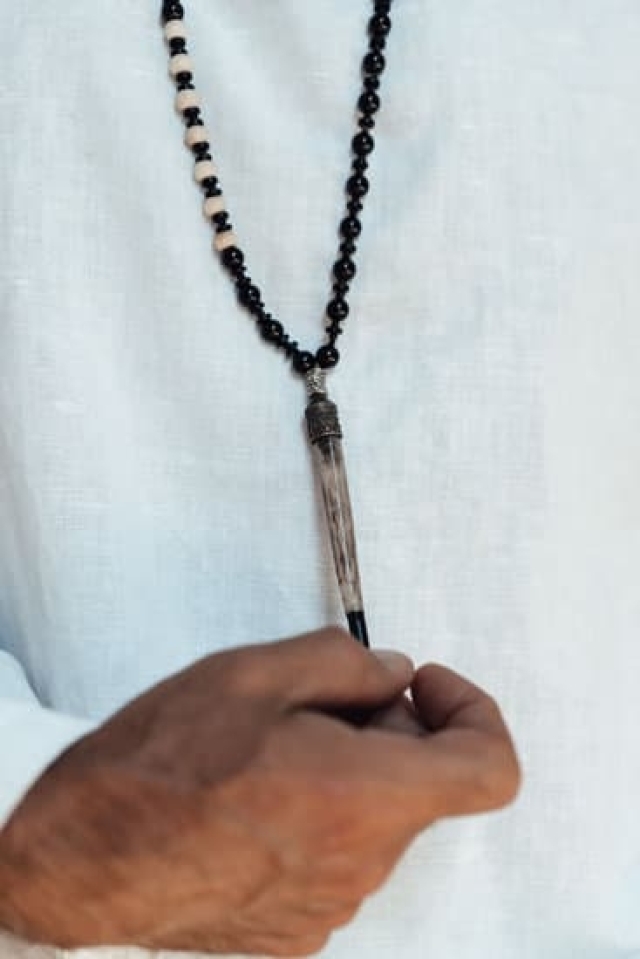
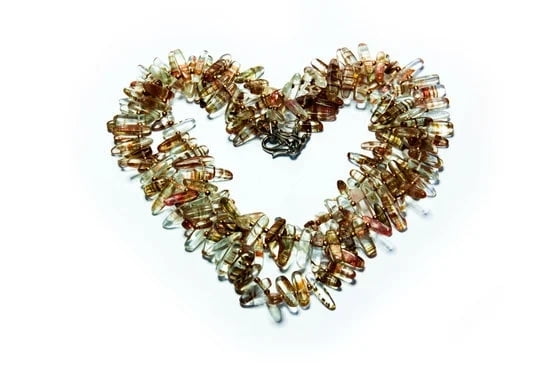
Vintage rhinestone jewelry has been around for centuries, as it is a unique and luxurious way to add sparkle and glamour to any attire. This beautiful jewelry was popular from the 1920’s through the 1970’s and is still revered today due to its timeless sophistication. Every piece is made out of crystal-clear glass stones in a variety of sizes and shapes, which are set into precious metals like gold and silver.
Although these pieces were made with quality craftsmanship, they can become damaged over time due to natural wear or accidental damage. Fortunately, there are ways that this vintage jewelry can be repaired.
Tools Needed To Repair Vintage Rhinestone Jewelry
When repairing vintage rhinestone jewelry, it is important to have the right tools on hand so that each job runs as smoothly as possible. A pair of tweezers is essential for placing new stones, unscrewing links or backing plates. A magnifying loupe should also be included in the toolkit for close inspection of the existing stones or small parts without missing any details.
Additionally, small tools such as pliers, screwdrivers and files can come in handy in more delicate cases where pieces need to be repaired by hand. Finally, a good adhesive such as Jewel Tite Gem Glue will help ensure secure fixes while avoiding messy spills or application errors.
Steps on How To Repair Vintage Rhinestone Jewelry
To begin repairs on vintage rhinestone jewelry, start by cleaning each piece thoroughly using soap & water and/or rubbing alcohol before assessing the damage. Determine whether you need to replace or reset existing stones or even remove them if necessary – this will dictate how much time/energy needs to be spent on restoration as well as what kind of supplies you may need.
Once ready for repair work, it’s best practice to use pliers for replacing prongs or twisted wires that have broken off from their pointett settings instead of using glue; this reduces the damage done during repair and gives a better finish overall when gluing is not an option due to excessive wear on old stones & settings etc.
Lastly, use Gem Tite glue alongside additional fasteners like sizers, pins & clasps to complete re-mounting/realignment jobs with success – remember that applying too much glue can cause damage so keep an eye out at all times.
Research
Before attempting to repair vintage rhinestone jewelry it is important to first research the type of stones and metal that were used. This will help to ensure that the materials used for repairs are compatible with those of the original piece.
Some vintage rhinestones may be lost, missing, or damaged so it can be difficult to determine what kind of stones were originally used if no information is available from a mark or stamp on the item. Without this knowledge it can be difficult to replicate an exact match which would leave an obvious inconsistency in the final look.
The metals used in vintage rhinestones also vary greatly and there must be compatibility between the parts used in any repair attempt. For example, sterling silver and gold tone metals were commonly mixed and matched together to create unique looks or styles found within individual pieces. It is important to find a suitable substitute for either material in order for any repair work carried out not to clash with the existing color scheme of the original design.
In addition, researching proper cleaning techniques before attempting a repair is important in order to return the item its original condition. Different types of stones may require different cleaning methods depending on their specific composition and durability level. Successful repair jobs rely on properly treating and restoring all elements of a piece prior starting any restoration work. Proper research prior to taking tools in hand should yield rewarding results when reworking vintage pieces back into wearable condition once more.
Organizing
Repairing vintage rhinestone jewelry requires a certain level of skill and organization. The first step to take before attempting repairs is to review the accessories and tools needed for the job. An individual will need pliers, glue, tweezers, a cup of water, a dishwashing detergent liquid solution, and a flat surface to work on when attempting repairs to rhinestone jewelry.
The flat surface should be lined with wax or tissue paper as this will help protect both the vintage rhinestones from any damage that could occur from the pressure of the tools being used, as well as protecting any other surfaces or items that may be in close proximity. Once all of these elements are present and accounted for, an individual will be ready to begin repair work on their vintage rhinestone jewelry.
The next step in repairing vintage rhinestone jewelry is cleaning each piece individually. With tweezers and water mixed with a few drops of mild detergent (such as dishwashing liquid), gently remove any grime or dirt left behind by years of wear or storage.
Often this alone can allow many pieces to shine like new again – however if more serious cleaning is required – items can also be soaked in lukewarm soapy water for up to an hour at a time until cleanliness is achieved.
Once all pieces have been thoroughly cleaned it’s time to move onto the repair phase. Using various tools such as pliers and tweezers fastenings among loose stones should be re-secured while simultaneously taking care not to exert too much pressure on any one faceted stone lest it break off completely.
After all fastenings are reattached using guide glue – plastic glue works best here – individuals can move onto filing adhesive attachments so every surface lays flush against one another once dry.
Preparation
Repairing vintage rhinestone jewelry can be a difficult task for the novice jewelry crafter. However, with a few basic materials and some knowledge about rhinestone settings, it is possible to refurbish damaged pieces of jewelry and bring them back to their former glory. The first step in any restoration process is preparation – cleaning using appropriate techniques and inspecting different parts of the piece to identify areas that may need repair or replacement.
When cleaning vintage rhinestone jewelry, it’s important to use gloves and a soft brush with soapy water. This will help remove dirt and other debris without risking damage to delicate stones or settings. Once cleaned, inspect for potential problem areas such as missing or loose stones, bent settings, discolored metals, broken clasps or dented pieces. These should all be addressed before moving on to the next step.
After inspection, you should then gather all necessary supplies such as an adhesive that is safe to use on metals and crystals, replacement stones if needed, pliers and tweezers. If possible use tools specifically designed for jewelry making such as flat nose pliers in order to avoid damaging delicate settings further while repairing them.
It is also worth noting that certain types of jewelry are better left to a professional repairperson such as costume jewelry with delicate filigree work as this can be difficult for beginners who lack the necessary skill set.
Finally, you must carefully read the instructions that come with your adhesive and ensure you follow these carefully in order to properly secure any new pieces added onto a piece of vintage rhinestone jewelry. Many adhesives require curing times which should not be skipped over as this could cause an improperly cured glue joint resulting in future failure of your newly repaired piece.
Re-Plating
Re-plating vintage rhinestone jewelry is both a cost effective and fairly simple process but there are a few steps that must be taken to ensure the jewelry remains in its original condition. The first step is to examine the vintage piece for damage, rust, or missing pieces. It is important to be as thorough as possible here since cleaning or polishing the piece may make it worse if it’s already damaged or faded.
Once you have determined that the piece is intact and can be restored, the next step is to set up your work area by collecting some materials such as a clean cloth, mild detergent, tweezers, and a metal plating kit which can often be found at larger craft stores or online. Make sure that your workspace allows enough room to move freely around the small items of jewelry.
Now you are ready to start re-plating your rhinestone jewelry. Begin by soaking an absorbent cotton cloth with a mild detergent and use it to clean any dirt or residue from around the metal components. You will then apply an electroplating solution – such as Precious Metal Plating Solution – onto each component separately with a paintbrush of Q-tip for better accuracy during this stage.
This will create an even coating on each component and give them an even sheen when finished. Let your jewelry sit for 15 minutes or until all pieces have been coated with electroplating solution before going onto rinsing them off with warm water using either a soft toothbrush or cotton balls which should dislodge any dirt and debris without scratching more delicate surfaces.
After drying off your piece completely with another clean cloth its lastly time to apply some sealant – something like Renaissance wax works well here – and buff gently using circular motions until; you have achieved your desired look in terms of shine and texture.
Re-Setting
Re-setting and re-mounting vintage rhinestone jewelry is a time consuming and painstaking process, but the end result can be well worth it. Both processes involve working with tools such as pliers, files and tweezers to ensure that the settings for the stones fit properly into place.
The primary difference between the two is that with re-setting, the stone is placed firmly within a metal setting or frame while with re-mounting you’ll need to actually create or modify the settings or frame.
For those unfamiliar with either process, it’s best to first practice on inexpensive stones before attempting more pricey pieces. Start by carefully assessing your piece of vintage jewelry and determining which stones need to be re-set or re-mounted.
Before beginning this work however it’s best to make sure that any sharp prongs or fasteners surrounding the stone have been blunted so there’s no danger of scratching or damaging either your skin or the stone. You should then use a file to refine these prongs into a sharper point if necessary so they will better adhesere to your desired shape.
Once you are certain that all of these steps have been taken care of (as well as even polishing with a cloth), you can move ahead by positioning each stone into its respective frame using specialized tweezers for precision movements. You will then need an additional pair of pliers in order to bend each prong until it has become secure within its setting and won’t budge anymore when touched.
When this job have been completed, give your entire piece one final going over with some q-tips and polish before admiring your finished creation.
Finishing
Finishing vintage rhinestone jewelry requires a great deal of skill, patience and an eye for detail. The jewelry should be checked over carefully to ensure that all stones are secure – if any are loose they should be resecured with adhesive, such as hypoallergenic glue or jeweler’s cement. Once the gluing is complete it’s time to start the polishing process.
This requires a soft cloth and a jewelry solution specifically made for rhinestones since anything too abrasive can damage the finish or cause discoloration in the metal. It is best to use very little pressure as rubbing to hard may scratch the metal setting and reduce the shine of the stones.
To further clean and protect your vintage rhinestone jewelry, use a polishing cloth infused with cleaning agents such as natural beeswax or silicone-free cleaners – these make it easy to clean even the thinest nooks where dirt might have settled on top of delicate components.
Additionally, before polishing it is important to check each stone individually for chips, missing or loose prongs which need to be refixed before cleaning or polishing them; otherwise this will cause irreparable damage that could cost you more money in repairs down the road.
Finally, once your vintage rhinestone jewelry is polished and any repairs completed it’s important to store it in an appropriate container so as not to damage it. For optimal security choose a cloth-lined box with airtight lid that can help protect from dust, moisture and other pollutants which can dull its shine overtime.
To further maintain its sparkles you should consider covering your pieces in an anti-tarnish jewelers bag. Not only do these come in different sizes perfectly suited for whatever pieces you own but they also contain properties which help fight off tarnish caused by sweat and other elements present in humid air.
Conclusion
This article has outlined the steps necessary for repairing vintage rhinestone jewelry. We began by discussing the components of any type of rhinestone jewelry, such as metal settings, glue, and stones. Next, we discussed various ways of effectively cleaning the items and ensuring that all dirt and debris are removed before attempting a repair.
From there, it was suggested to secure any loose stones with a quality craft glue or epoxy instead of trying to re-set them with an adhesive doing more damage in the process. Lastly, polish the jewelry when repairs are complete to remove any grit or residue and make sure it is sparkling clean.
Overall, restoring vintage rhinestone jewelry is both an art and science. With some patience and attention to detail, you can bring back some stunning pieces thought to be beyond repair. By educating ourselves in proper care methods as well as repair techniques, we can ensure that these items will be around for generations to come.
As passionate collectors of vintage jewelry ourselves at Rhinestone Gemstone Collective, our goal is to provide top notch services while giving back knowledge so other people can work on their own cherished pieces with confidence too. We provide comprehensive advice pages on our website as well as private consultations for those looking for more guidance on restoration projects big or small.
With a little help from us, even old and broken jewelry can become a stunning part of your collection yet again.

Welcome to my jewelry blog! My name is Sarah and I am the owner of this blog.
I love making jewelry and sharing my creations with others.
So whether you’re someone who loves wearing jewelry yourself or simply enjoys learning about it, be sure to check out my blog for insightful posts on everything related to this exciting topic!


